

A drip irrigation kit raised bed system has become a go-to solution for gardeners looking to maximize water savings and plant health in 2024. This practical guide explains how to set up, optimize, and troubleshoot irrigation in raised beds while staying realistic about costs and potential challenges.
Key Takeaways
- Drip irrigation kits for raised beds can save between 30% and 80% more water than traditional watering methods, with most gardens seeing 50-60% efficiency gains.
- Common challenges include installation complexity and clogging in organic-rich soils, but performance is exceptional with the right layout and maintenance.
- Key technical factors for uniform coverage are emitter spacing (typically 6-12 inches), low-pressure operation, and using self-flushing lines for reliability.
The Core Concept
A drip irrigation kit raised bed setup delivers water directly to plant roots with impressive efficiency. Raised beds contain dense plant spacing, which often leads to wasted water when using sprinklers or manual watering.
Using targeted irrigation can reduce water waste by 30–80% while delivering moisture exactly where it’s needed. Research consistently shows improved soil health, better yields, and reduced risk of plant disease when leaves remain dry instead of being sprayed from above.
This approach means healthier plants, less manual labor, and more consistent watering results throughout the growing season.
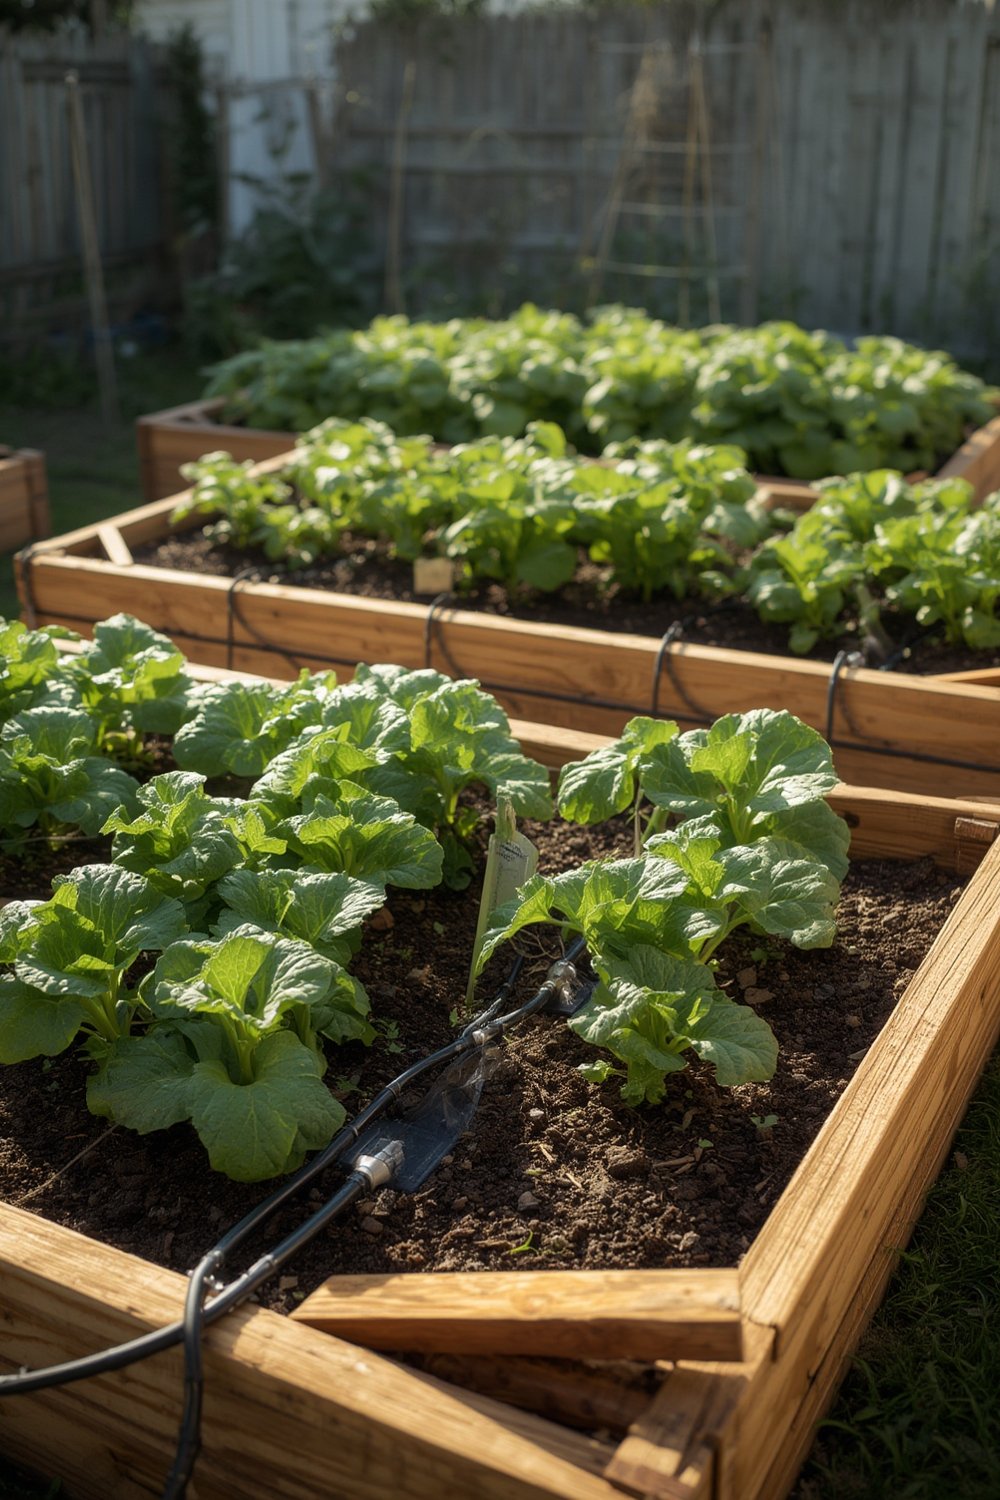
Step-by-Step Guide
Installing a drip irrigation kit raised bed system is simpler than most beginners expect. Follow these steps for a standard 4×8 raised bed:
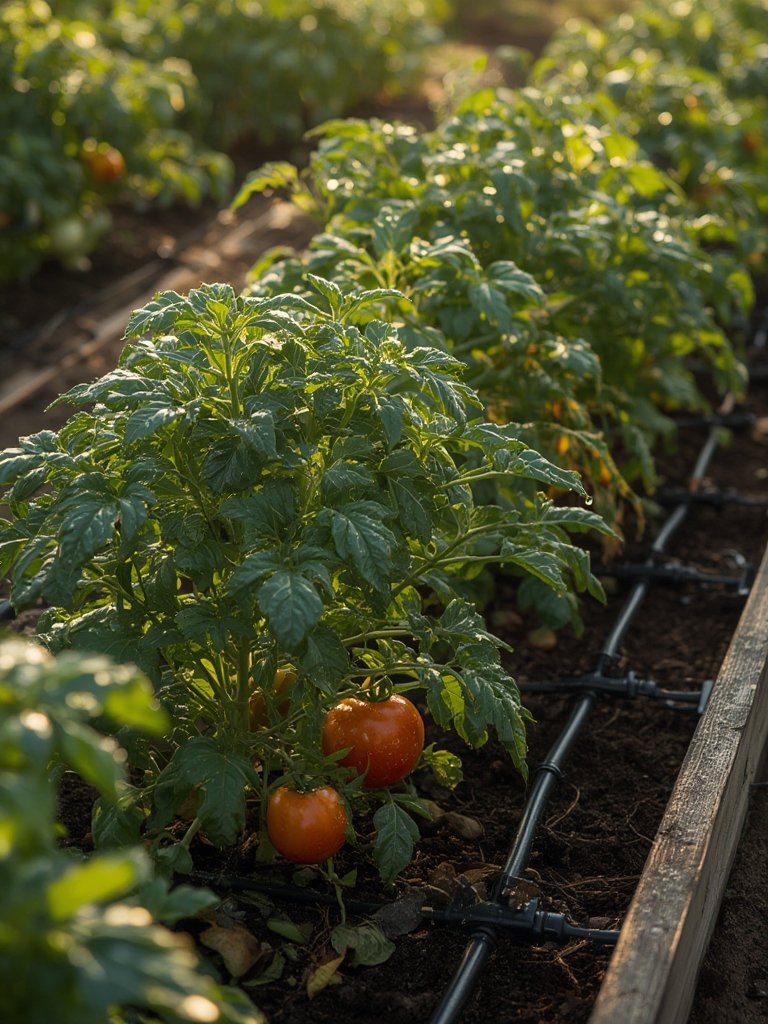
- Plan Your Layout: Map plant spacing and plan tubing paths. Position main lines along the bed length with drip emitters spaced 6–12 inches apart.
- Select and Buy Your Kit: Choose a garden bed-specific drip kit with features like pressure-compensating emitters, timers, and self-flushing lines. Top kits cost $300-800, or about $1.50-5 per linear foot.
- Install Filter and pressure regulator: Attach these to your outdoor faucet. Most drip systems operate best at 10-20 psi—any higher and you’ll get blowouts and leaks.
- Lay Main Supply Tubing: Snake 1/2″ tubing down the length of your raised bed. Use stakes to keep it snug along the soil.
- Add Drip Lines or Emitters: Punch holes and insert drip lines or individual emitters along each row, spacing them 6-12 inches apart depending on your plantings.
- Test for Leaks and Adjust Emitters: Run the system; check every connection for drips and ensure each plant gets even moisture. Adjust as needed.
- Set Your Timer: Automatic timers are lifesavers—set them to water in the early morning for best absorption and least evaporation.
- Cover Lines with Mulch: Mulch keeps tubing cool, reduces evaporation, and prevents UV damage.
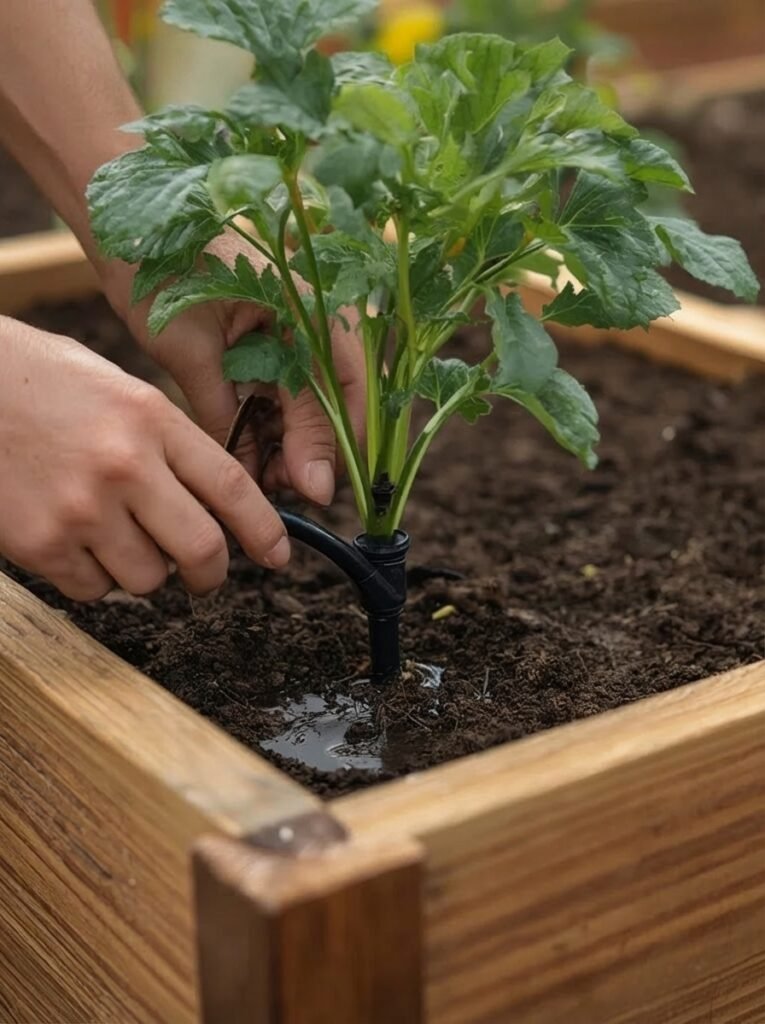
Tip: If you’re running out of hose on a corner, standard compression couplers make expanding your system simple. For smart watering, you can add a smart sprinkler controller that tracks weather and adjusts automatically.
Looking to upgrade your overall garden setup? Pairing this system with a compost tumbler bin or artificial grass turf can further reduce labor and maximize sustainability.
Advanced Analysis & Common Pitfalls
Even the best drip irrigation kit raised bed installations can face challenges. Awareness of common problems helps prevent wasted time and resources.
- Complex Setup: Kits often include filters, tubing, emitters, and timers, which can feel overwhelming. Expect to spend 1-2 hours per average raised bed for the initial install.
- Clogged Emitters or Lines: Organic-rich soils and hard water can clog emitters. Self-flushing equipment and regular checks are essential—don’t skip the filter.
- Incorrect Emitter Spacing: If you space emitters too widely, you’ll get dry zones; too close, and you’re wasting water. Stick to 6-12 inch intervals for most crops.
- Upfront Cost: A quality kit costs considerably more than a $10 soaker hose; however, the water and crop yield savings offset costs over time.
- Maintenance: System longevity depends on seasonal flushing, checking for leaks, and occasionally replacing emitters.
| Feature | Drip Irrigation Kit for Raised Bed | Traditional Watering |
|---|---|---|
| Water Savings | 30%-80% less water used (source) | Much higher evaporation and runoff |
| Uniformity | 90%-95% efficiency when emitters spaced at 6-12 inches | Prone to dry patches or overwatering (source) |
| Disease Risk | Reduces foliar diseases | Frequent wet leaves promote disease |
| Cost | $300—$800 for quality systems | Low upfront, less efficient |
| Maintenance | Periodic flushing and checks | Minimal, but more frequent watering needed |
Even with excellent performance, drip irrigation isn’t “set and forget.” You’ll get the best results by building regular maintenance into your gardening routine. For further garden gear to streamline your yard, check out how a battery powered lawn mower or expandable garden hose can reduce yard work, too.
Conclusion
Drip irrigation kits for raised beds offer a proven solution for saving water, improving yields, and reducing disease risk—when installed and maintained correctly. By following the practical steps and tips above, most obstacles can be avoided and the long-term rewards are significant. If you want a reliable, water-wise garden, a drip irrigation kit raised bed setup is a smart move. Get started today and enjoy the benefits all growing season long.
Ready to transform your raised bed and save water? Explore our guides to vertical garden systems or upgrade your tools with an outdoor storage shed resin for total backyard control.
FAQ
How much water can I actually save using a drip irrigation kit in my raised bed?
Most gardeners report saving 50-60% water versus traditional methods, with professional and research sources citing ranges from 30% up to 80%. Exact savings depend on initial watering habits and how well the drip system is tuned. (source)
Will a drip kit work with organic-rich or compost-heavy soil mixes?
Yes, but organic soils can cause more clogging in the emitters over time. Always use filters and regular flushing to keep the system running smoothly.
Do I need a timer for my raised bed drip irrigation system?
While not strictly required, a timer makes watering automatic, consistent, and helps prevent overwatering. It’s strongly recommended for best results and convenience.
What are the biggest installation mistakes to avoid?
The most common mistakes are skipping the pressure regulator, spacing emitters too far apart, not using a filter, and failing to secure tubing with stakes for even coverage.
Can drip irrigation help increase my vegetable yield?
Generally yes. Consistent root-zone moisture is proven to promote better growth, deeper roots, and less disease, especially in vegetables where foliar wetting encourages blight. (source)